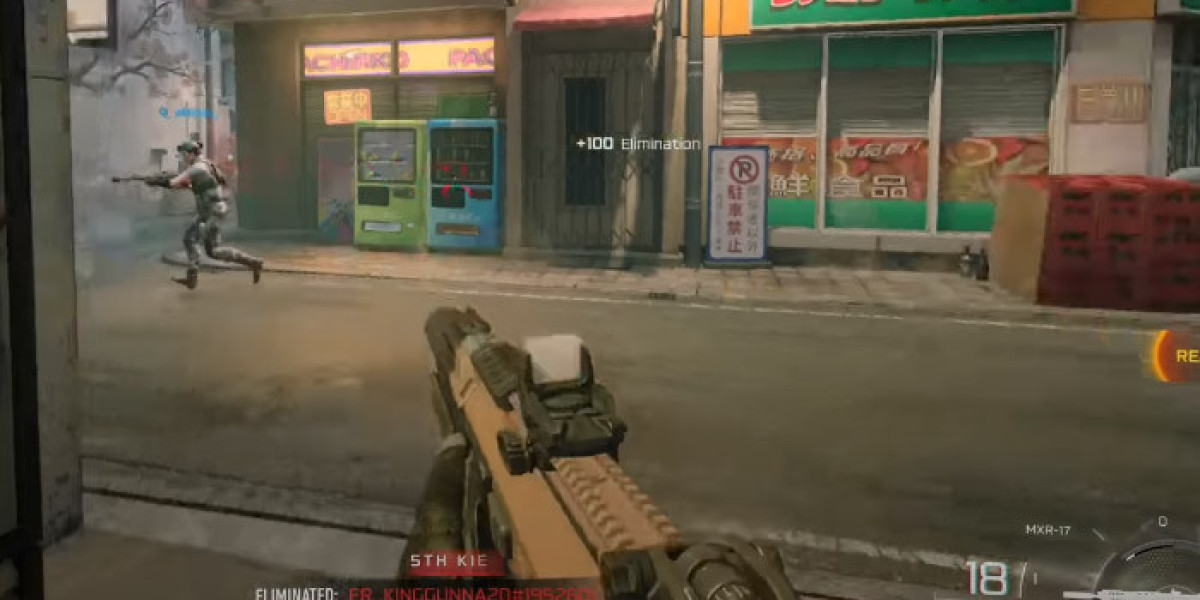
Ever lost a Round 38 run because two squadmates went down behind a Mangler and nobody could push the revive? That sting is exactly why Healing Aura has crept back to the top of my Field Upgrade list in Black Ops 6 Zombies, and why I keep recommending it to friends grinding the Zombies Coin Operator Camo alongside their high-round attempts. It's not flashy. It just saves runs.
Why Healing Aura Still Wins in Black Ops 6 Zombies
Most squads underrate burst healing until the moment they need it. Then they over-rate it. The truth sits somewhere in the middle.
The Core Function and Radius
The base ability throws out a roughly 15-meter health burst, topping off everyone in range and pulling downed allies back up - no animation lock, no dropped weapon. You keep shooting. That's the part newer players miss. In a chaotic exfil, being able to revive without crouching next to a body is the difference between a clean extract and a wipe.
Where It Falls Short Solo
Honestly, on solo runs I'd rather pack Frenzied Guard or Aether Shroud. Healing Aura still works as a panic button, but you lose 80% of its identity when there's nobody to revive. From what I've seen, it really shines from three players upward.
Building the Best Healing Aura Loadout
Augment choice is where most guides get lazy. They list everything and call it a day. Here's how I actually slot it.
Augments Worth Locking In
Resurrection (Major 3) is non-negotiable past Round 30 - instant revives on every downed ally inside the radius. For the second Major, I flip between Ward for boss fights and Resilience for general horde rounds. On the Minor side, Refresh pays for itself the moment Manglers start spawning in pairs.
A Quick Comparison
| Augment | Effect | Best Use |
|---|---|---|
| Resilience | 10s health regen after burst | Train running |
| Ward | 20% damage reduction, 8s | Boss DPS windows |
| Resurrection | Instant revive in radius | High rounds, exfils |
Activation Discipline
Hold the charge. I cannot stress this enough. Popping it at 60% HP because you panicked is how you lose Round 41 ten minutes later. Wait for two low bars or one down - that's the trigger.
Advanced Healing Aura Synergies and Mistakes
Perks and Ammo Mod Pairings
Quick Recovery (the Quick Revive augment branch) plus Healing Aura creates a feedback loop where the medic regenerates faster than the team can take damage. Stack Jugger-Mog with the Ward augment and you can genuinely face-tank an Abomination charge for a couple of seconds. Not forever. Just long enough.
Common Traps Players Fall Into
1) Burning the aura on minor chip damage. The cooldown is brutal - respect it.
2) Doubling up Field Upgrades with a teammate's Frenzied Guard. Stagger them, or one is wasted.
3) Assuming revives work through walls. They don't, mostly. Tier V research helps but doesn't fix line-of-sight entirely.
The Open Questions Nobody Answers
There's still some debate on whether the burst clears Weaver snare slows or fire DoTs. My testing says it clears the slow but not the burn - though I'd treat that as anecdotal until somebody datamines it properly. Cooldown scaling between Round 10 and Round 40 also feels inconsistent, and I've yet to see a clean breakdown.
Run it for three matches with Resurrection slotted, hold your charge until somebody actually goes down, and notice how rarely your squad wipes - and if you'd rather skip the camo grind entirely, services like U4GM handle the heavy lifting so you can focus on actually playing the meta. Test it tonight.